Monday, May 27, 2013

Summer Sampler Fun!

I came across a fantastic quilt along sampler on Pintrest recently.  I took a look and it was from 2011, but hey, if I haven't seen it before it's new to me!

This sampler has 12 blocks and a hand full of bloggers doing tutorials on each.

I am not a big fan of solids, but when I saw this sampler, I fell in love.  It is also very interesting to see everyone's blocks on the various blogs that have tutorials!  But, my favorite by far was the white and solids.

I decided to take up this project for the summer and do one block each week.  I will post links to the original instructions each week also.

I am really excited about this project!  I think it will be a skill builder and I am looking forward to learning a new thing or two :)

For my first block, I chose the "Mosaic".  

Here is a shot of mine before final assembly of the 16 HST in it.  (These will be laid out a little differently before assembly)


Mosaic

Here are some shots of the assembled block:

Mosaic Assembled 

Mosaic Assembled

The tutorial for this block can be found at FreshlyPieced, just click here.

I am so excited to see how mine comes along this summer!

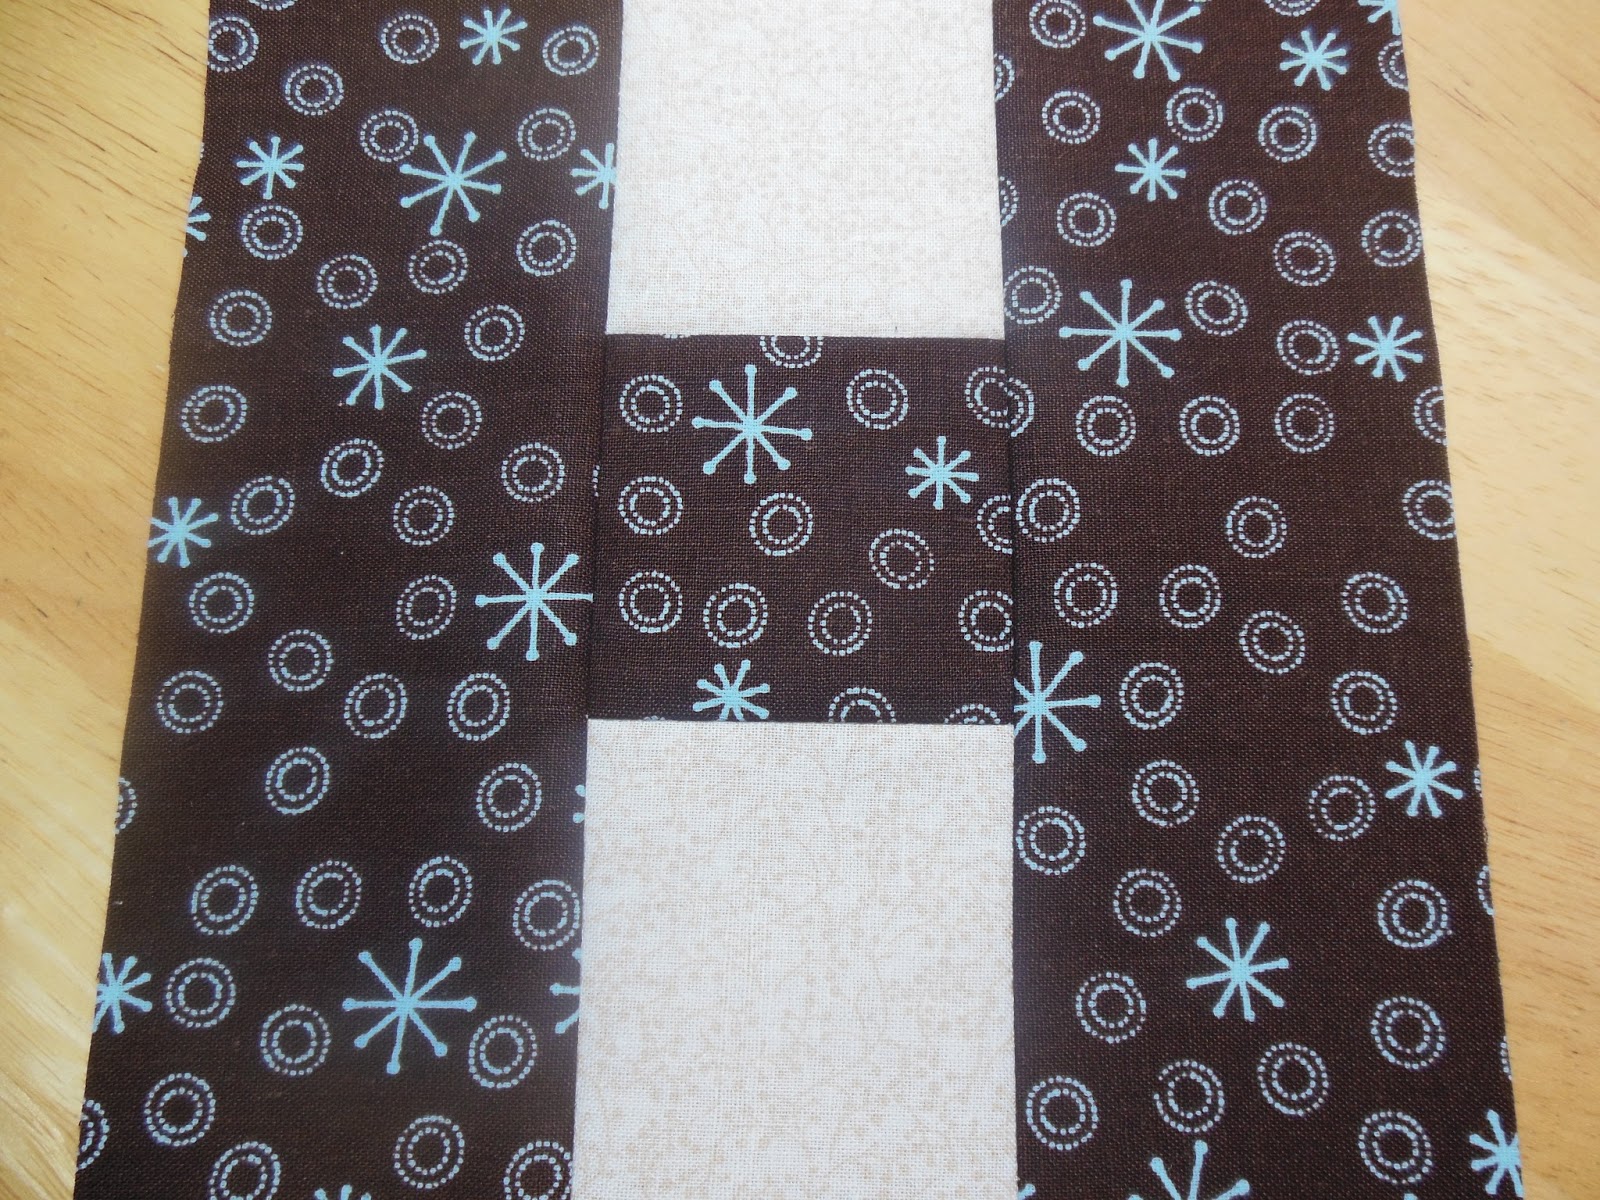
H Quilt Complete

Well, my "H Block" Quilt is finally assembled and quilted.  I just picked up the binding today at JoAnn Fabric.

The quilt top was mailed to Tennessee to be quilted by a friend of my mother's, who did a fantastic job!  I was so happy that I opted for the circles in the quilt pattern.  A friend told me that with all the blue, it looked like water to her.  I think it does as well!  We are headed to Tennessee shortly and I will pick it up.....I can't wait!


Quilt Top

Back of Quilt

This was a free pattern from Craftsy by Sharon Holland.  You can find a link to the pattern in my original post.


Sunday, April 21, 2013

Sunday Blessings

I love Sundays. Sundays for me are a day to casually clean house, sew, nap or try a new recipe.  I really feel like Sunday's are my day.  I always feel incredibly blessed on Sundays.  As I am cleaning or cooking or just sewing or relaxing, I am always reminded in these quite moments how blessed I am. :)

Today, I decided to try making home made soft pretzels.  Now, we buy these all the time, and they are an item that I have wanted for a LONG time to try to make at home.  

I finally decided to take the plunge today.  I honestly figured they would turn out somewhat since I have worked with a lot of dough in my day.  But, they turned out even better than I expected!  Love it when that happens!

I have found several recipes over the years for these and had held onto several from all kinds of sources for when the bug hit me to make these.  


Here is the recipe I went with:

Ingredients:

  • 1 1/2 cups warm water
  • 2 tablespoons light brown sugar
  • 1 package active dry yeast (2 1/4 teaspoons)
  • 3 ounces unsalted butter, melted
  • 2 1/2 teaspoons kosher salt
  • 4 1/2 to 5 cups all-purpose flour
  • Vegetable oil
  • 3 quarts water
  • 3/4 cup baking soda
  • Egg wash (1 whole egg, beaten with 1 tablespoon cold water)
  • Coarse salt

Directions:

  1. Combine the water, sugar, yeast, and butter in the bowl of a stand mixer and mix with the dough hook until combined. Let sit for 5 minutes.
  2. Add the salt and flour and mix on low speed until combined. Increase the speed to medium and continue kneading until the dough is smooth and begins to pull away from the side of the bowl, about 3 to 4 minutes. If the dough appears too wet, add additional flour, 1 tablespoon at a time. 
  3. Remove the dough from the bowl, place on a flat surface and knead into a ball with your hands.
  4. Oil a bowl with vegetable oil, add the dough and turn to coat with the oil.
  5. Cover with a clean towel or plastic wrap and place in a warm spot until the dough doubles in size, about 1 hour.
  6. Preheat the oven to 425 degrees F.
  7. Bring the water to a boil in a small roasting pan over high heat and add the baking soda.
  8. Remove the dough from the bowl and place on a flat surface. 
  9. Divide the dough into 8 equal pieces, about 4 1/4 to 4 1/2 ounces each. 
  10. Roll each piece into a long rope and shape into the lengths or shapes that you want (sticks are easy and tasty).  
  11. Boil the pretzels in the water solution in batches. Boil for about 30 seconds. Remove with a large slotted spoon. 
  12. Place pretzels on a baking sheet that has been sprayed with cooking spray. Make sure they are not touching. 
  13. Brush the tops with the egg wash and season liberally with the salt. 
  14. Place into the oven and bake for 15 to 18 minutes until golden brown.
  15. Add additional toppings immediately after they come out of the oven.


Friday, April 19, 2013

H Quilt Blocks Complete

I have finished all my H blocks a little quicker than I thought I might, so here is an update.  I am still not convinced that I have my layout right.....I always fuss way too much over this stage of a quilt!


The good news is that I am pretty sure I have enough fabric left over to do another quilt with it, but a different pattern.  I am thinking of giving them both to the Momma-To-Be as a matching set.  :)

Thursday, April 18, 2013

H Quilt

I am far enough into my "H" quilt to post about it!  I have 30 of 40 blocks finished!

I found this pattern quite some time ago and wished I had an excuse to make it.  And, when I found out there was going to be a new baby boy in the family, I immediately thought of this quilt.  I was able to find it again on Pinterest.  Ladies, what the heck did we do with all of our free time before Pinterest?

Here is the original image.  I think that her color choice is SO amazing!!


Click here for the pattern by Sharon Holland.

Here are my blocks.  I tried to duplicate the color pallet since I really, really loved her color choices.


I have three more fabrics to add before putting my border on!

Tuesday, April 16, 2013

Baby Boy Stuff!!

Well, it has certainly been a while since my last post.  Just busy with life and that pesky "job" that is always keeping me away from my sewing room!

Good news in the family.....a baby boy is on the way!  This is a great excuse for me to craft and sew like crazy!  

I have been making these really cute and easy burp rags.  I found the pattern here:  http://sewshesews.wordpress.com/2009/07/29/burp-cloth-tutorial/

Sorry my picture is sideways :/.....could not figure out how to turn it around!

Burp Rags

I am not a huge fan of "babyish" fabrics and colors, so I tried to go with something a little less baby than the obvious color choices and patterns.  I have two more matching sets of two.

I have a lovely quilt in progress that I found on Craftsy that I will share soon....when it's a little more together!

Happy Crafting :)

Sunday, December 9, 2012

Reindeer Shirts

A friend of mine asked me to make some matching shirts for her & her sister's children for Christmas.  I think she wants them all to match on Christmas morning for photos....how adorable, right?!?

I thought reindeer would be a good Christmas symbol that was unisex!

I had a heck of a time finding a reindeer pattern so I ended up having to make one on my own.  I did find a picture online that I liked it and I used it as an inspiration/guide.  I thought I would share my pattern here in case someone else out there is looking for one!   This is a jpg so you can copy and re-size it to whatever size you need.


I used Heat N Bond Ultra for the lettering, because some of it was intricate and I did not want to sew around it.  I used regular Heat N Bond for the reindeer so that I could embroider around them.

The girls reindeer have bows on the antlers and for the one boy, I made his reindeer nose red.

I think they turned out so cute and may just have to do another project with these little guys!

Here are some shots of mine ready to be applied.