Well, this weekend I have a LOT of projects going in the sewing room. I just finished cutting a quilt kit for my mother, who is making a quilt for the newest addition to the family....a new grand daughter. This marks the first grand daughter in the family :).
I have another "Basket Weave" quilt in the works as well. This one I am calling "A Walk in the Woods". I will show that one later when it's a little more presentable.
So, in the midst of these projects I decided to try out a circle quilt that I have really, really been wanting to do. I am calling this "Part 1" of the tutorial on how to make it.
This would be the absolute perfect quilt to make if you only had two or three days to put something hand made together for a baby shower! It is simple and easy. I am a firm believer that a quilt doesn't have to be complex or difficult to be beautiful and I love the modern cute look of the fabrics in this one.
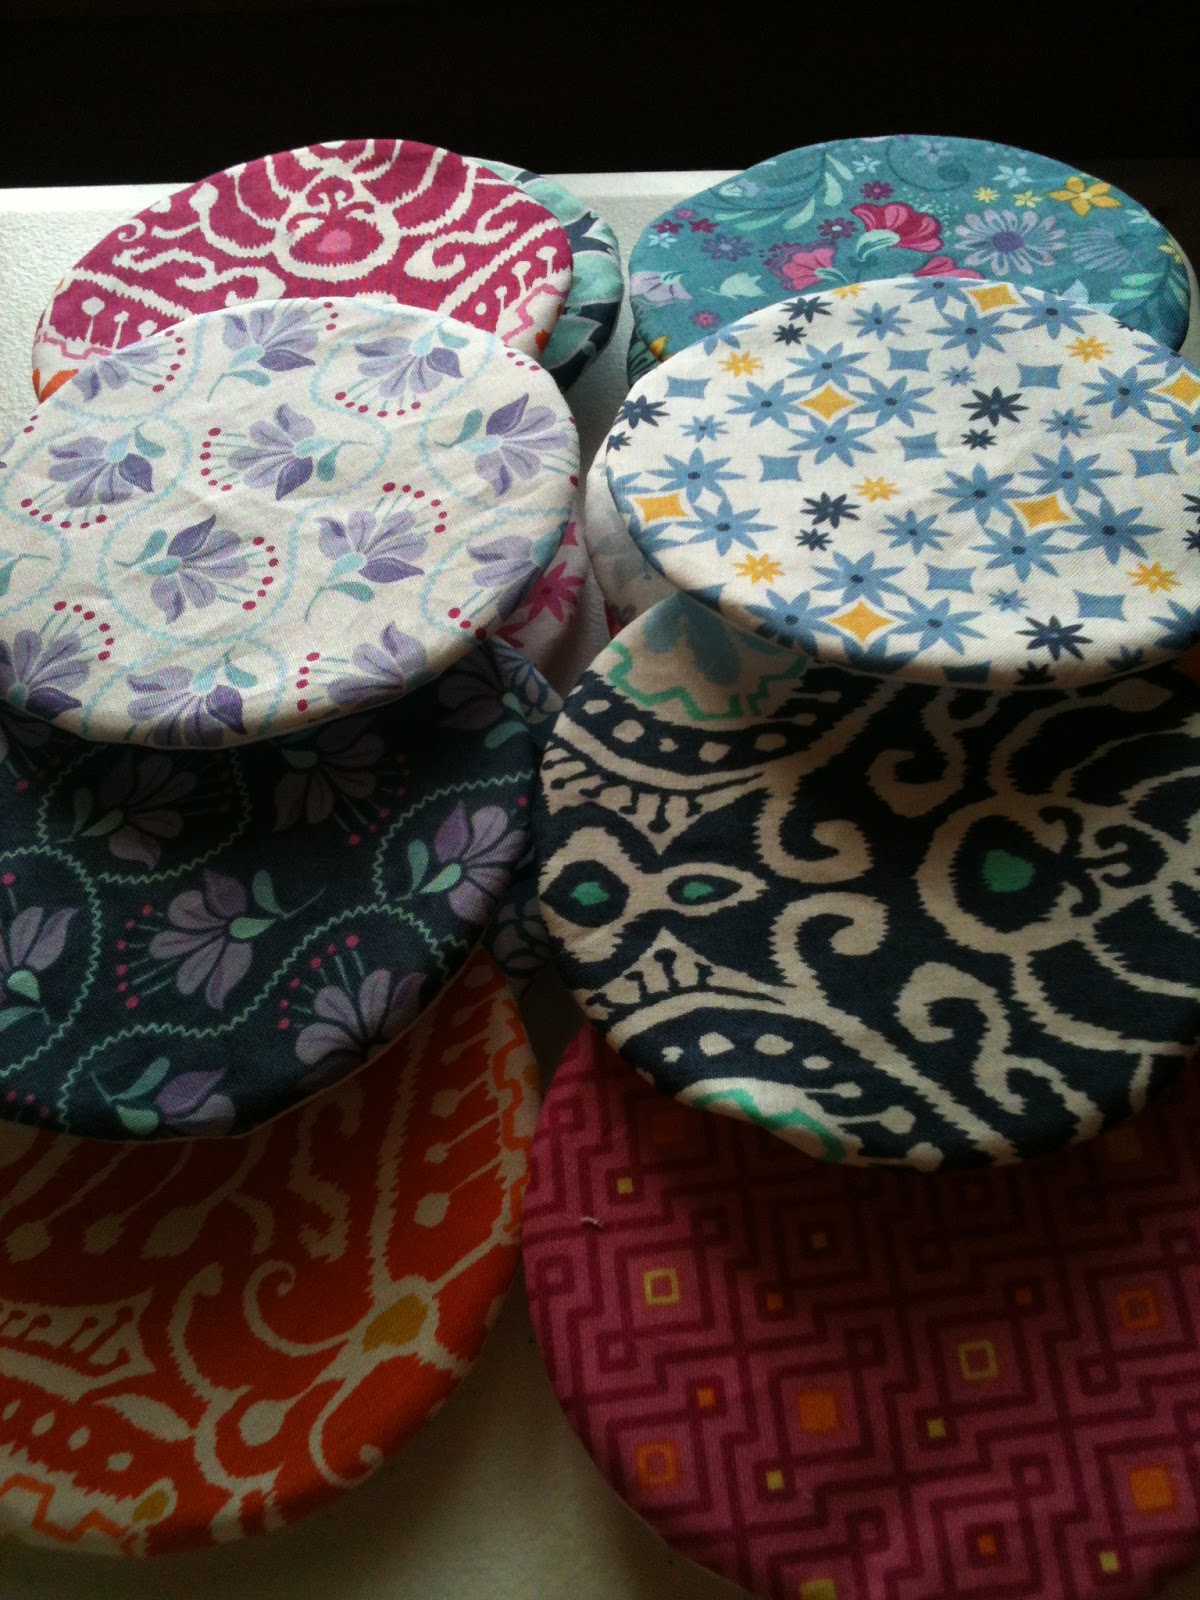
Here are some of my circles:
Start by selecting a circle template in whatever size you want. I started with charm squares for my fabric so I used a CD which was the PERFECT size. For my quilt, I am using 25 circles. Use your circle template and cut out as many circles as you like.
Next, cut the same amount of circles out of a lightweight fusible stabilizer with the same circle template. I just picked up some at Jo Ann Fabric.
Now, take a circle of fabric and a circle of stabilizer and put them right side of fabric and fusible side of stabilizer together.
Now sew your circle completely closed all the way around. Sew as close to the edge you can while still making sure to get both the stabilizer and fabric.
If you are wondering why you don't leave an opening....here is the answer.
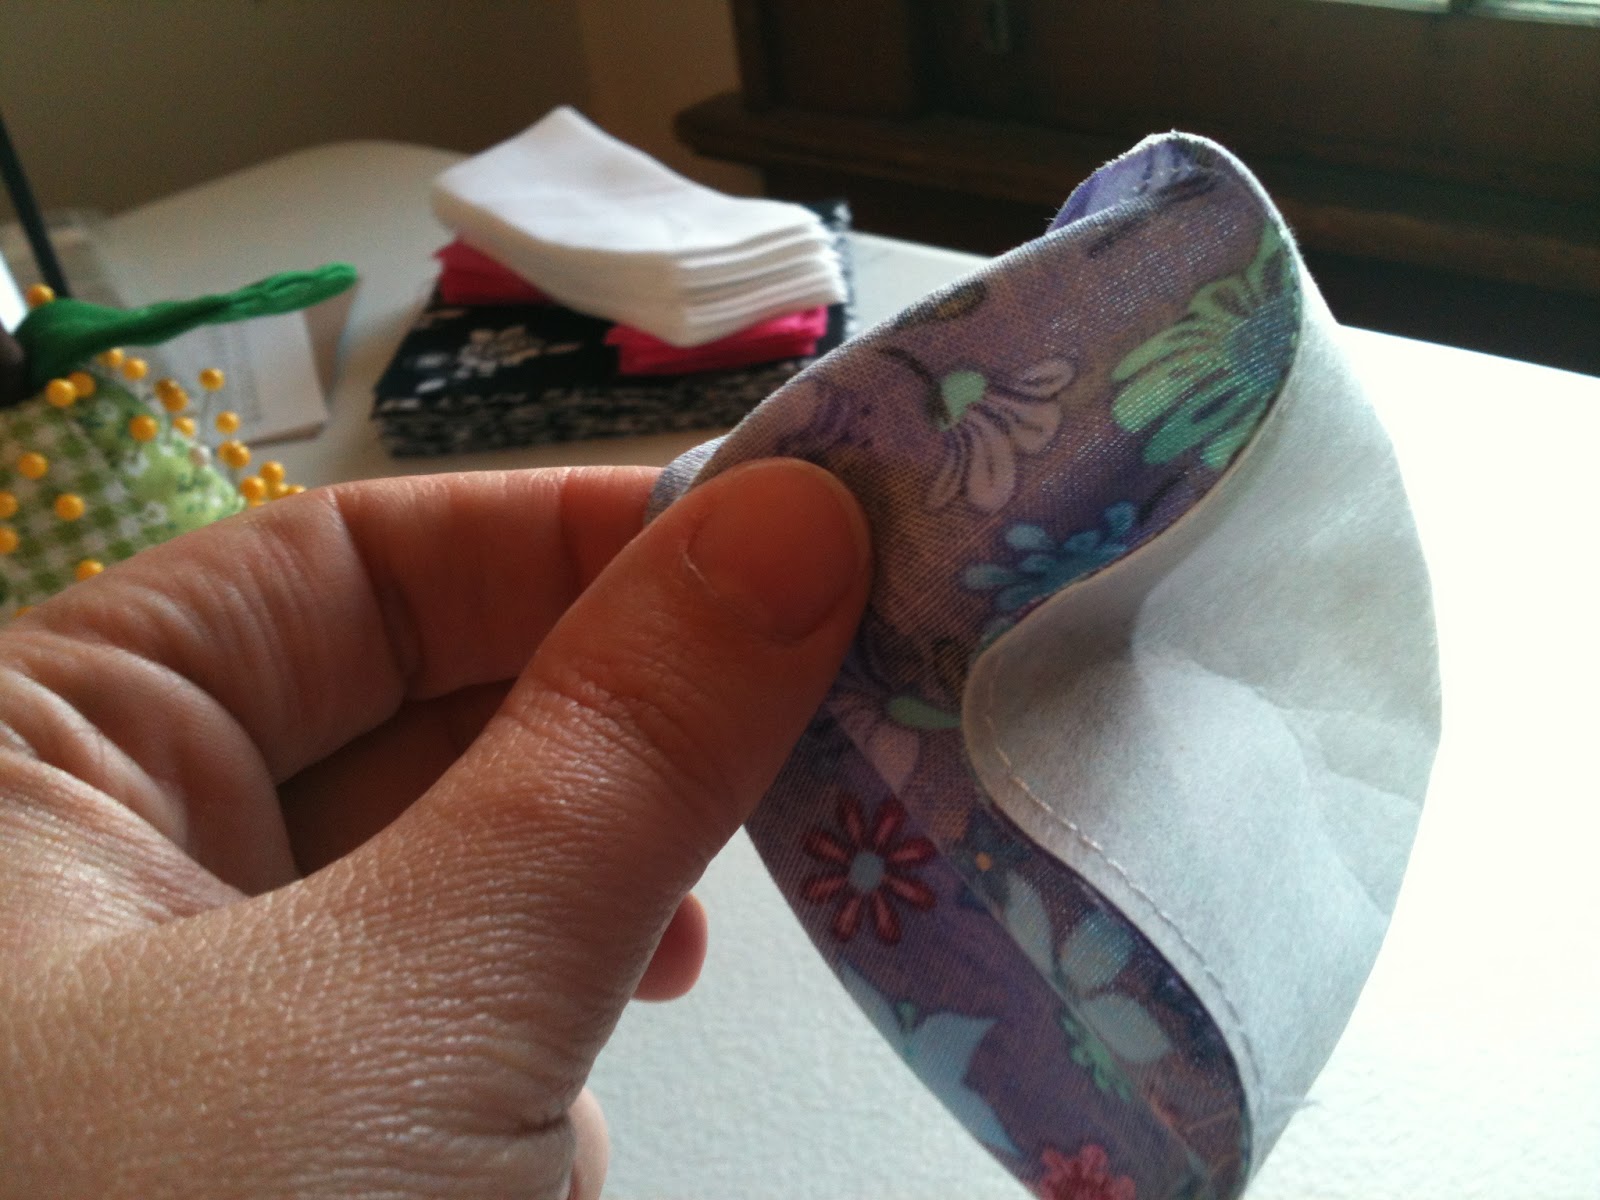
Pull the fabric and the stabilizer apart from one another and cut a small to medium sized slit in the stabilizer. Be careful not to cut your fabric! Turn your circle inside out. Trust me, it won't matter that the stabilizer has a cut in it later in the process.
Next, use a pencil or sewing marker and gently shape your seam to flatten out your circle. Be careful not to push too hard!
Now you have a finished circle!
Now, fashion as many as you like and come back in a few days for the next segment of this tutorial!